An Engineer's Field Notes: Troubleshooting a GE LOGIQ 7 Boot Loop Failure
Introduction: The Familiar Hum of a Faulty Startup
As a hardware engineer specializing in medical imaging equipment, there are certain sounds and symptoms that immediately signal a specific type of problem. The GE LOGIQ 7, a true workhorse in the world of ultrasound, is a machine I know well. When a call comes in describing a system that won't boot past the progress bar, or gets stuck in a loop of flashing command windows, my diagnostic checklist already begins to form. This isn't just a simple glitch; it's a classic symptom pointing towards a deeper issue, often rooted in the machine's core storage. This article shares my field experience in methodically troubleshooting and resolving this frustrating boot failure.
Section 1: Decoding the Symptoms and Initial Assessment
Understanding the Clues
The initial report is always crucial. The user describes turning the machine on, seeing the familiar GE splash screen, and then watching the software loading progress bar. The bar either freezes at a specific point—say, 75%—or it completes, the screen flickers, and the entire boot process starts over. A key detail is the appearance of command prompt windows (those black boxes reminiscent of old DOS) that flash on the screen for a moment before disappearing. They appear and reappear, preventing the main ultrasound application from ever launching.
From an engineer's perspective, these clues are highly informative. A complete failure to power on points to the power supply unit (PSU) or motherboard. However, a partial boot that fails during software loading tells us that the core hardware is likely functional. The system has power, the CPU is running, and it's attempting to load the operating system and the proprietary GE application software. The failure point is the transition from the basic OS startup to the complex clinical application environment.
Formulating a Hypothesis: The Prime Suspects
Based on these symptoms, we can narrow down the potential culprits. The flashing command windows often indicate that the system is trying, and repeatedly failing, to launch a critical service or find a necessary file. This leads to a few primary hypotheses, which I always rank from most to least likely:
- Hard Disk Drive (HDD) Failure: This is, by far, the most common cause for this issue on a machine of this vintage. The LOGIQ 7 uses a mechanical hard drive. Over years of constant use, these drives develop bad sectors or suffer mechanical wear. When the system tries to read a critical file from a bad sector, it hangs or errors out, triggering a restart or a loop.
- Software Corruption: It's possible that key system files or application files have become corrupted, even on a healthy drive. This could be due to an improper shutdown, a power surge, or other software conflicts. While less common than a physical drive failure, it's a definite possibility.
- Peripheral Conflict: Occasionally, a faulty peripheral device connected to the system—like a USB printer, a network card, or even an internal board—can interfere with the boot sequence. The system might hang while trying to initialize the faulty hardware.
- Memory (RAM) Issues: A faulty RAM module can cause unpredictable behavior, including boot failures. However, this usually manifests as more random crashes or blue screens rather than a consistent failure at the same point in the loading process.
Section 2: The Hands-On Diagnostic Process
Step 1: Isolate the System
Before opening up the machine, the first rule of troubleshooting is to simplify the environment. I begin by disconnecting everything that is not absolutely essential for booting. This includes all external USB devices (printers, memory sticks), network cables, and any non-standard peripherals. The goal is to eliminate external factors. I then attempt to reboot the system. In about 5% of cases, this simple step actually solves the problem, pointing to a faulty external device. For the other 95%, we must dig deeper.
Step 2: The Hard Drive Investigation
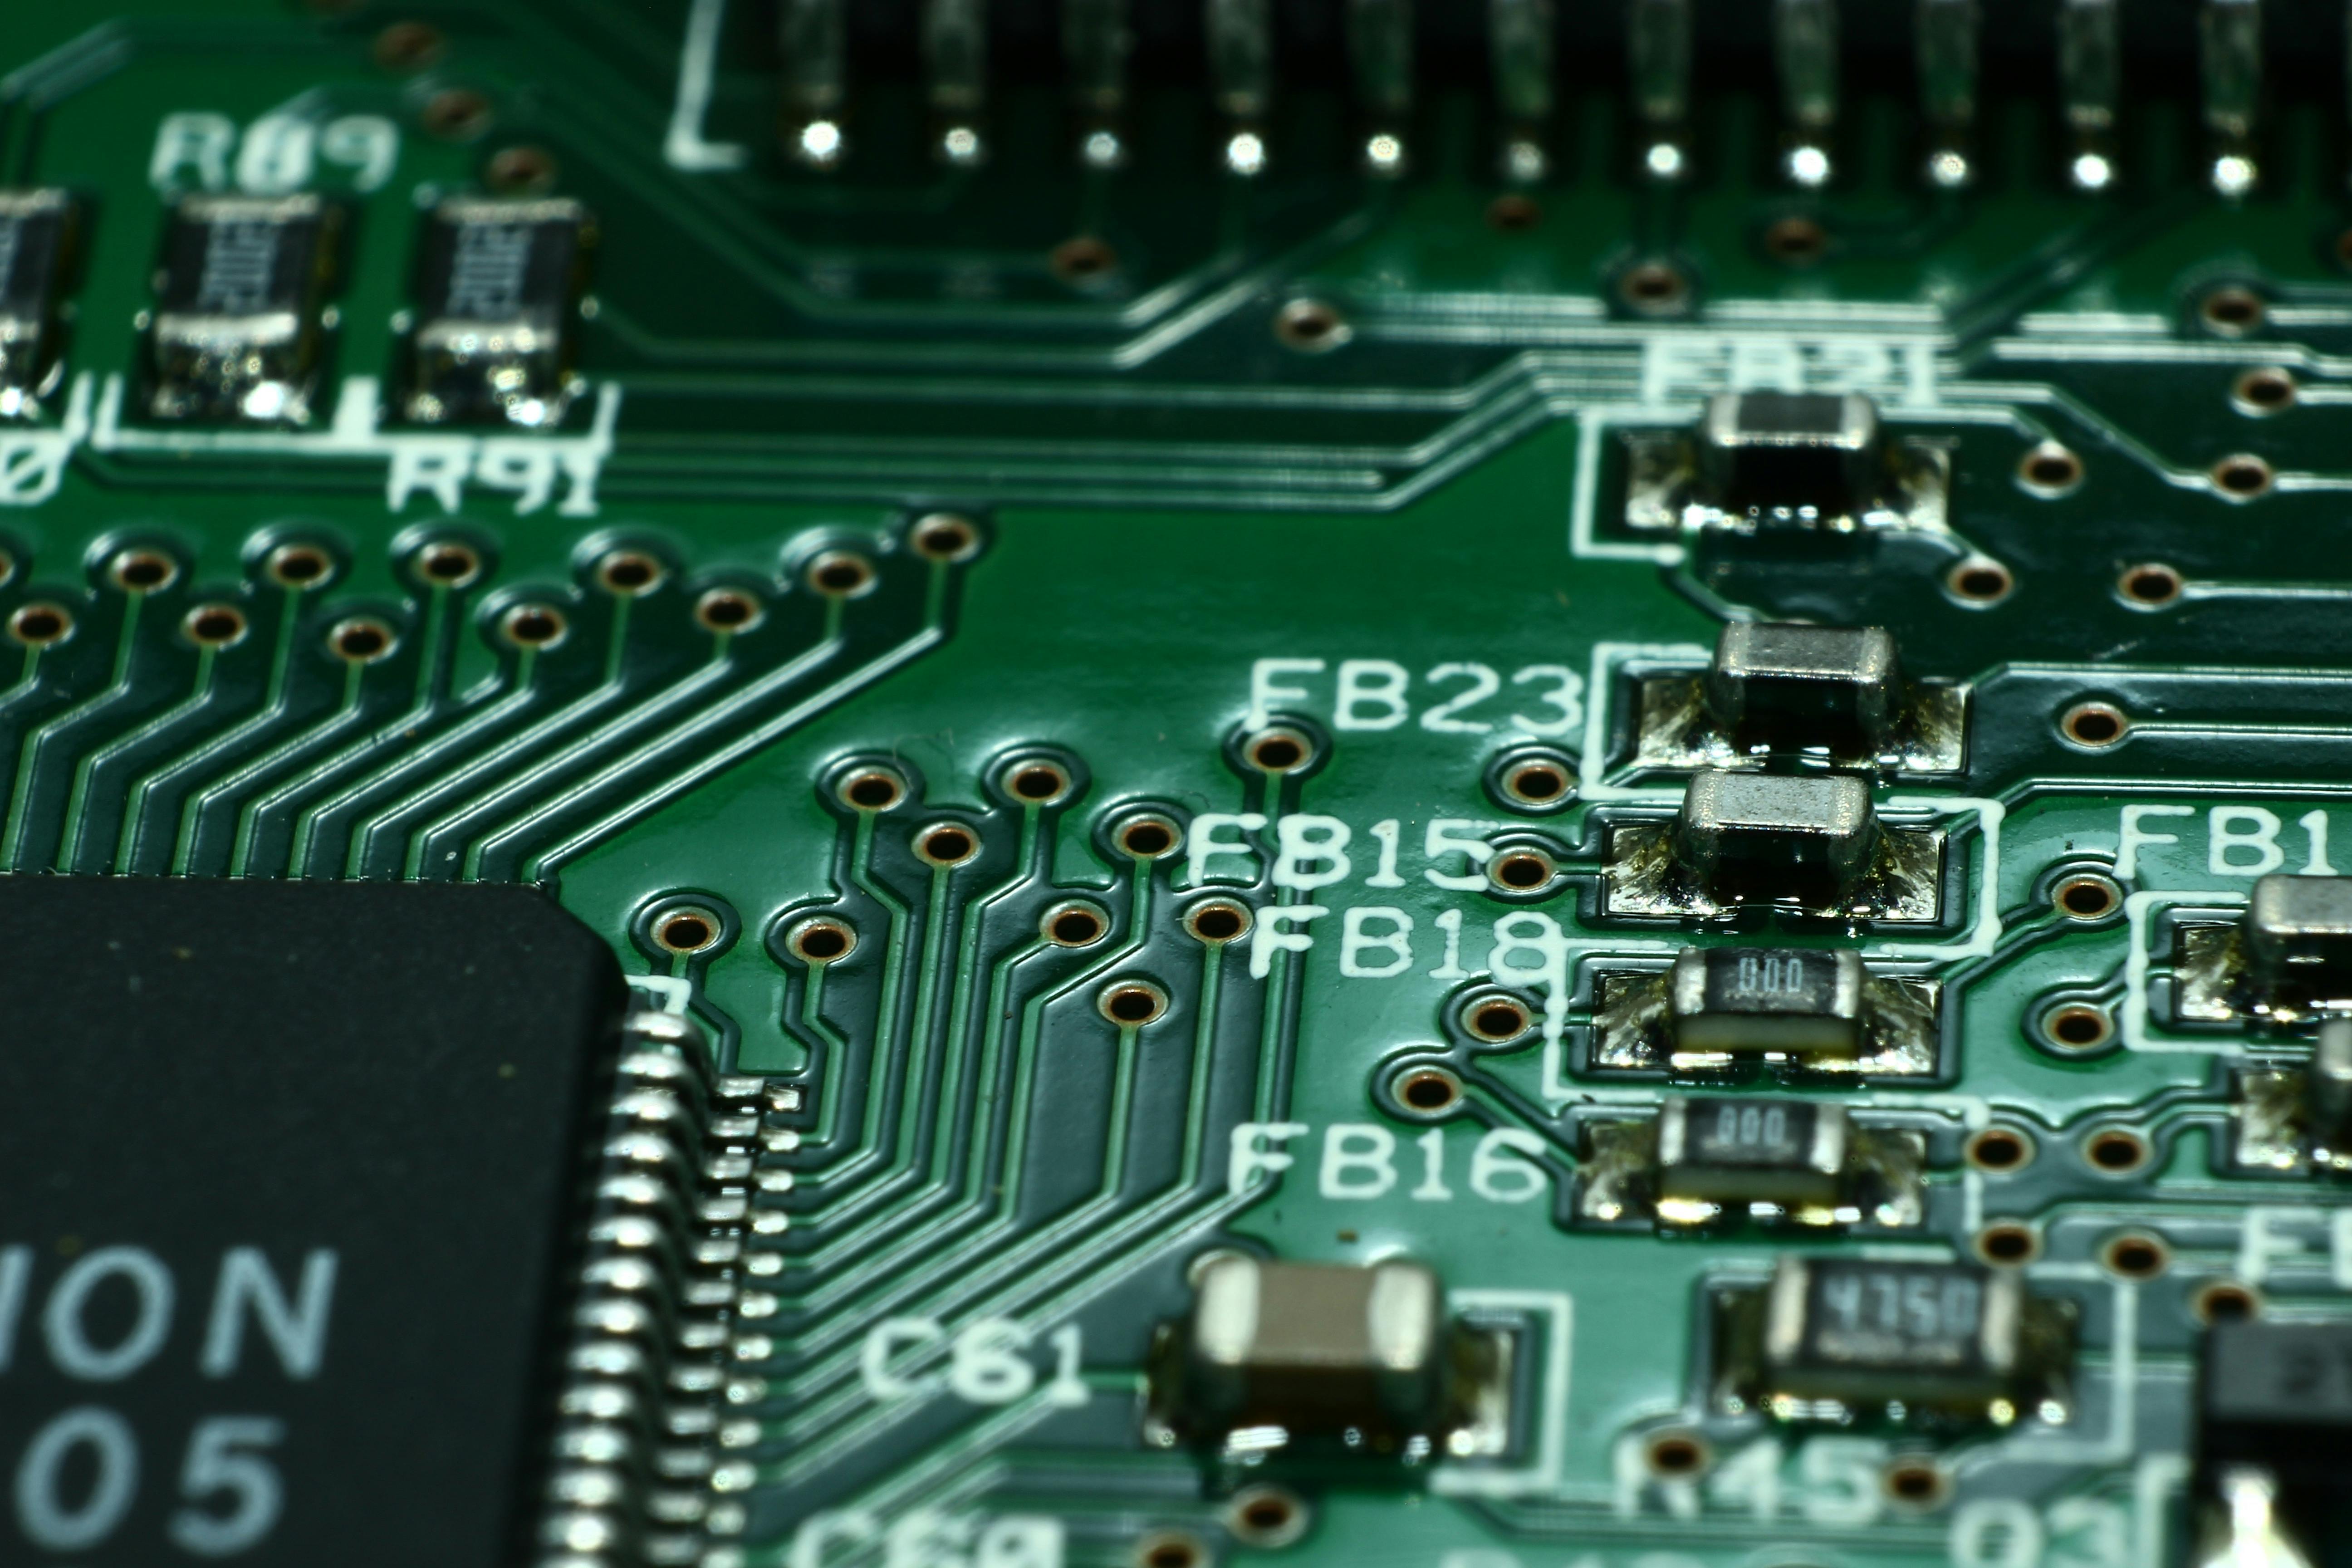
With peripherals ruled out, my attention turns squarely to the prime suspect: the hard drive. After ensuring the machine is fully powered down and unplugged, I open the main chassis to access the internal components. The LOGIQ 7's architecture is well-organized, and the hard drive is typically easy to locate.
My first action is a physical check. I carefully inspect the data (IDE or SATA) and power cables connected to the drive. Sometimes, vibrations over years of use can cause a connection to become loose. I reseat both cables firmly and try booting again. This is a quick check that costs nothing but a few minutes of time.
If the problem persists, it's time to confirm the health of the drive itself. I carefully remove the hard drive from the ultrasound machine. Using a USB-to-IDE/SATA adapter, I connect it to my service laptop. This is a critical piece of equipment for any field engineer. Once connected, I use specialized diagnostic software (like CrystalDiskInfo or HD Tune Pro) to analyze the drive's health.
The software reads the drive's S.M.A.R.T. (Self-Monitoring, Analysis, and Reporting Technology) data. More often than not, the results are immediate and clear. The status will show a "Caution" or "Bad" warning, with a high count of "Reallocated Sectors" or "Uncorrectable Sector Count." This is the smoking gun—indisputable evidence that the drive is physically failing and is no longer reliable. The system's inability to read from these damaged areas is what causes the boot loop.
Section 3: The Path to Resolution: Replacement and Reload
Sourcing a Replacement and Considering an Upgrade
Once the hard drive is condemned, the solution is replacement. For older systems like the LOGIQ 7 that use IDE drives, finding an exact replacement can be challenging. However, compatible SATA drives are plentiful, and a simple SATA-to-IDE adapter often works perfectly. In fact, this presents an opportunity for an upgrade.
I strongly recommend replacing the old mechanical HDD with a modern Solid State Drive (SSD). An SSD has no moving parts, making it far more resistant to shock and vibration. More importantly, its read/write speeds are dramatically faster. This upgrade not only fixes the boot issue but also results in a noticeably faster system startup and snappier overall performance, breathing new life into the aging machine.
The Critical Step: System Software Reinstallation
Simply installing a new, blank drive is only half the battle. The new drive needs the proprietary GE LOGIQ 7 operating system and application software. This is where having the original system software discs is non-negotiable. Without them, the machine is an expensive paperweight. These multi-disc sets are specific to the system's revision and installed options.
The reinstallation process is methodical. I install the new SSD in the system, insert the first software CD/DVD, and configure the system to boot from the optical drive. The installation utility guides you through the process, prompting for each subsequent disc in the correct order. This process can take a significant amount of time, often over an hour, as it partitions the drive and copies all necessary files.
After the base software is installed, the final step involves entering system-specific settings, such as the clinic's name, network configuration, and—most importantly—re-entering the license keys for any purchased options like 4D, DICOM, or advanced cardiac packages. This information should be backed up or recorded from the original system configuration if possible.
Conclusion: Beyond the Fix
The GE LOGIQ 7 that was once stuck in a frustrating boot loop is now back online, running faster and more reliably than before with its new SSD. This case is a perfect example of a common failure mode in aging diagnostic equipment. The takeaway for technicians and engineers is to trust the symptoms. A boot process that fails during software loading almost always points to a data access issue, with the hard drive being the most likely point of failure. A methodical approach—isolating the system, testing the suspect component, and performing a clean replacement and software reload—is the key to an effective and lasting repair. It also underscores the absolute importance of safeguarding original software media and system configuration data for the entire life of the equipment.
Related Articles

Common Technical Faults in Medical Ultrasound Systems: A Comprehensive Analysis
An in-depth professional analysis of the most frequent hardware and software failures in medical ultrasound machines, ranging from transducer damage to power supply instability and user interface malfunctions.
Philips X7-2t TEEプローブの完全ガイド:よくある故障、診断、修理ソリューション
先進的なPhilips X7-2t xMatrix TEEプローブのトラブルシューティングとメンテナンスに関する包括的なガイド。機械的故障、電子診断、専門的な修理手順を網羅しています。
