Mastering Common Repair Techniques for Medical Ultrasound Equipment
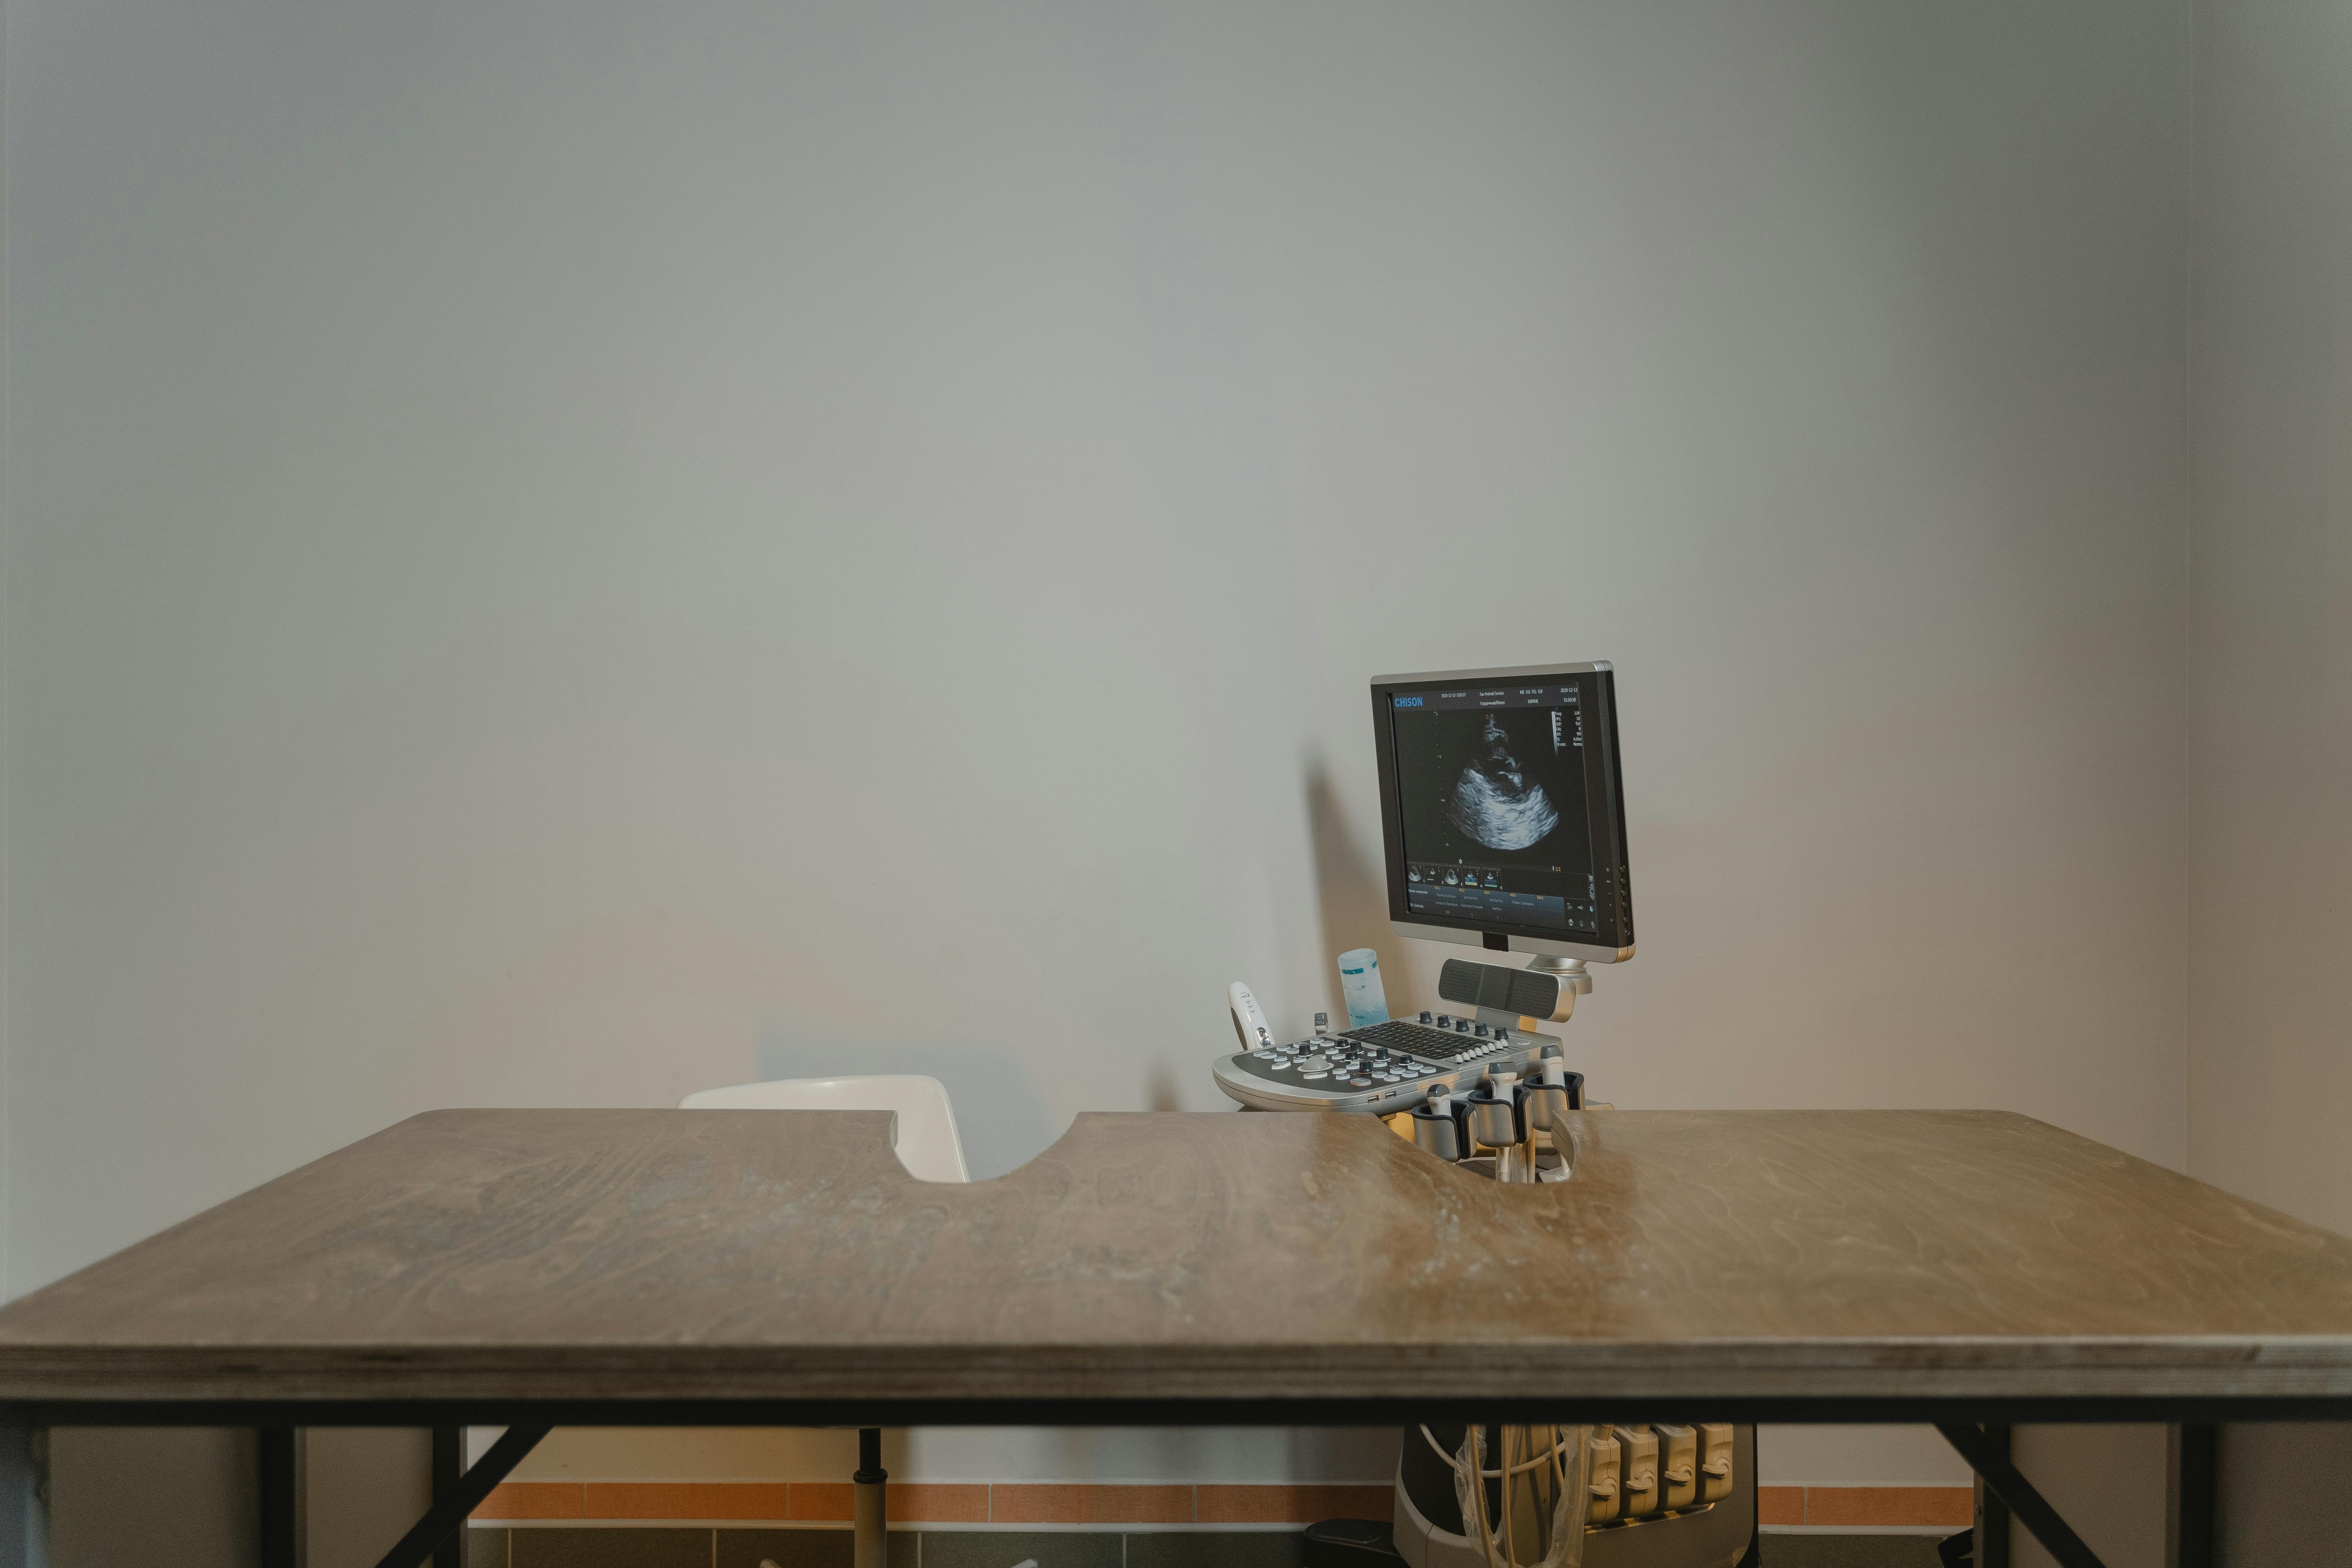
Medical ultrasound equipment plays a pivotal role in diagnostic imaging, relying on precise piezoelectric transducers to generate and receive high-frequency sound waves. However, these devices are prone to failures due to intensive use, environmental factors, and component wear. This article provides a professional overview of the most common repair techniques, equipping technicians with systematic approaches to restore functionality efficiently.
Initial Diagnostic Procedures
Effective repair begins with accurate diagnosis to identify root causes without unnecessary disassembly. Technicians should start by verifying power supply integrity and conducting visual inspections for physical damage, such as cracked housings or loose connectors.
Utilize built-in self-test (BIST) functions or service menus accessible via the system's keyboard shortcuts. These tools generate diagnostic reports on transducer performance, signal processing, and image artifacts.
Employ external tools like oscilloscopes for signal waveform analysis and multimeters for continuity checks. Document findings systematically to guide subsequent repairs.
- Check DC power rails for voltage stability (±5% tolerance).
- Inspect cooling fans and thermal sensors for overheating indicators.
- Run phantom tests to quantify image quality degradation.
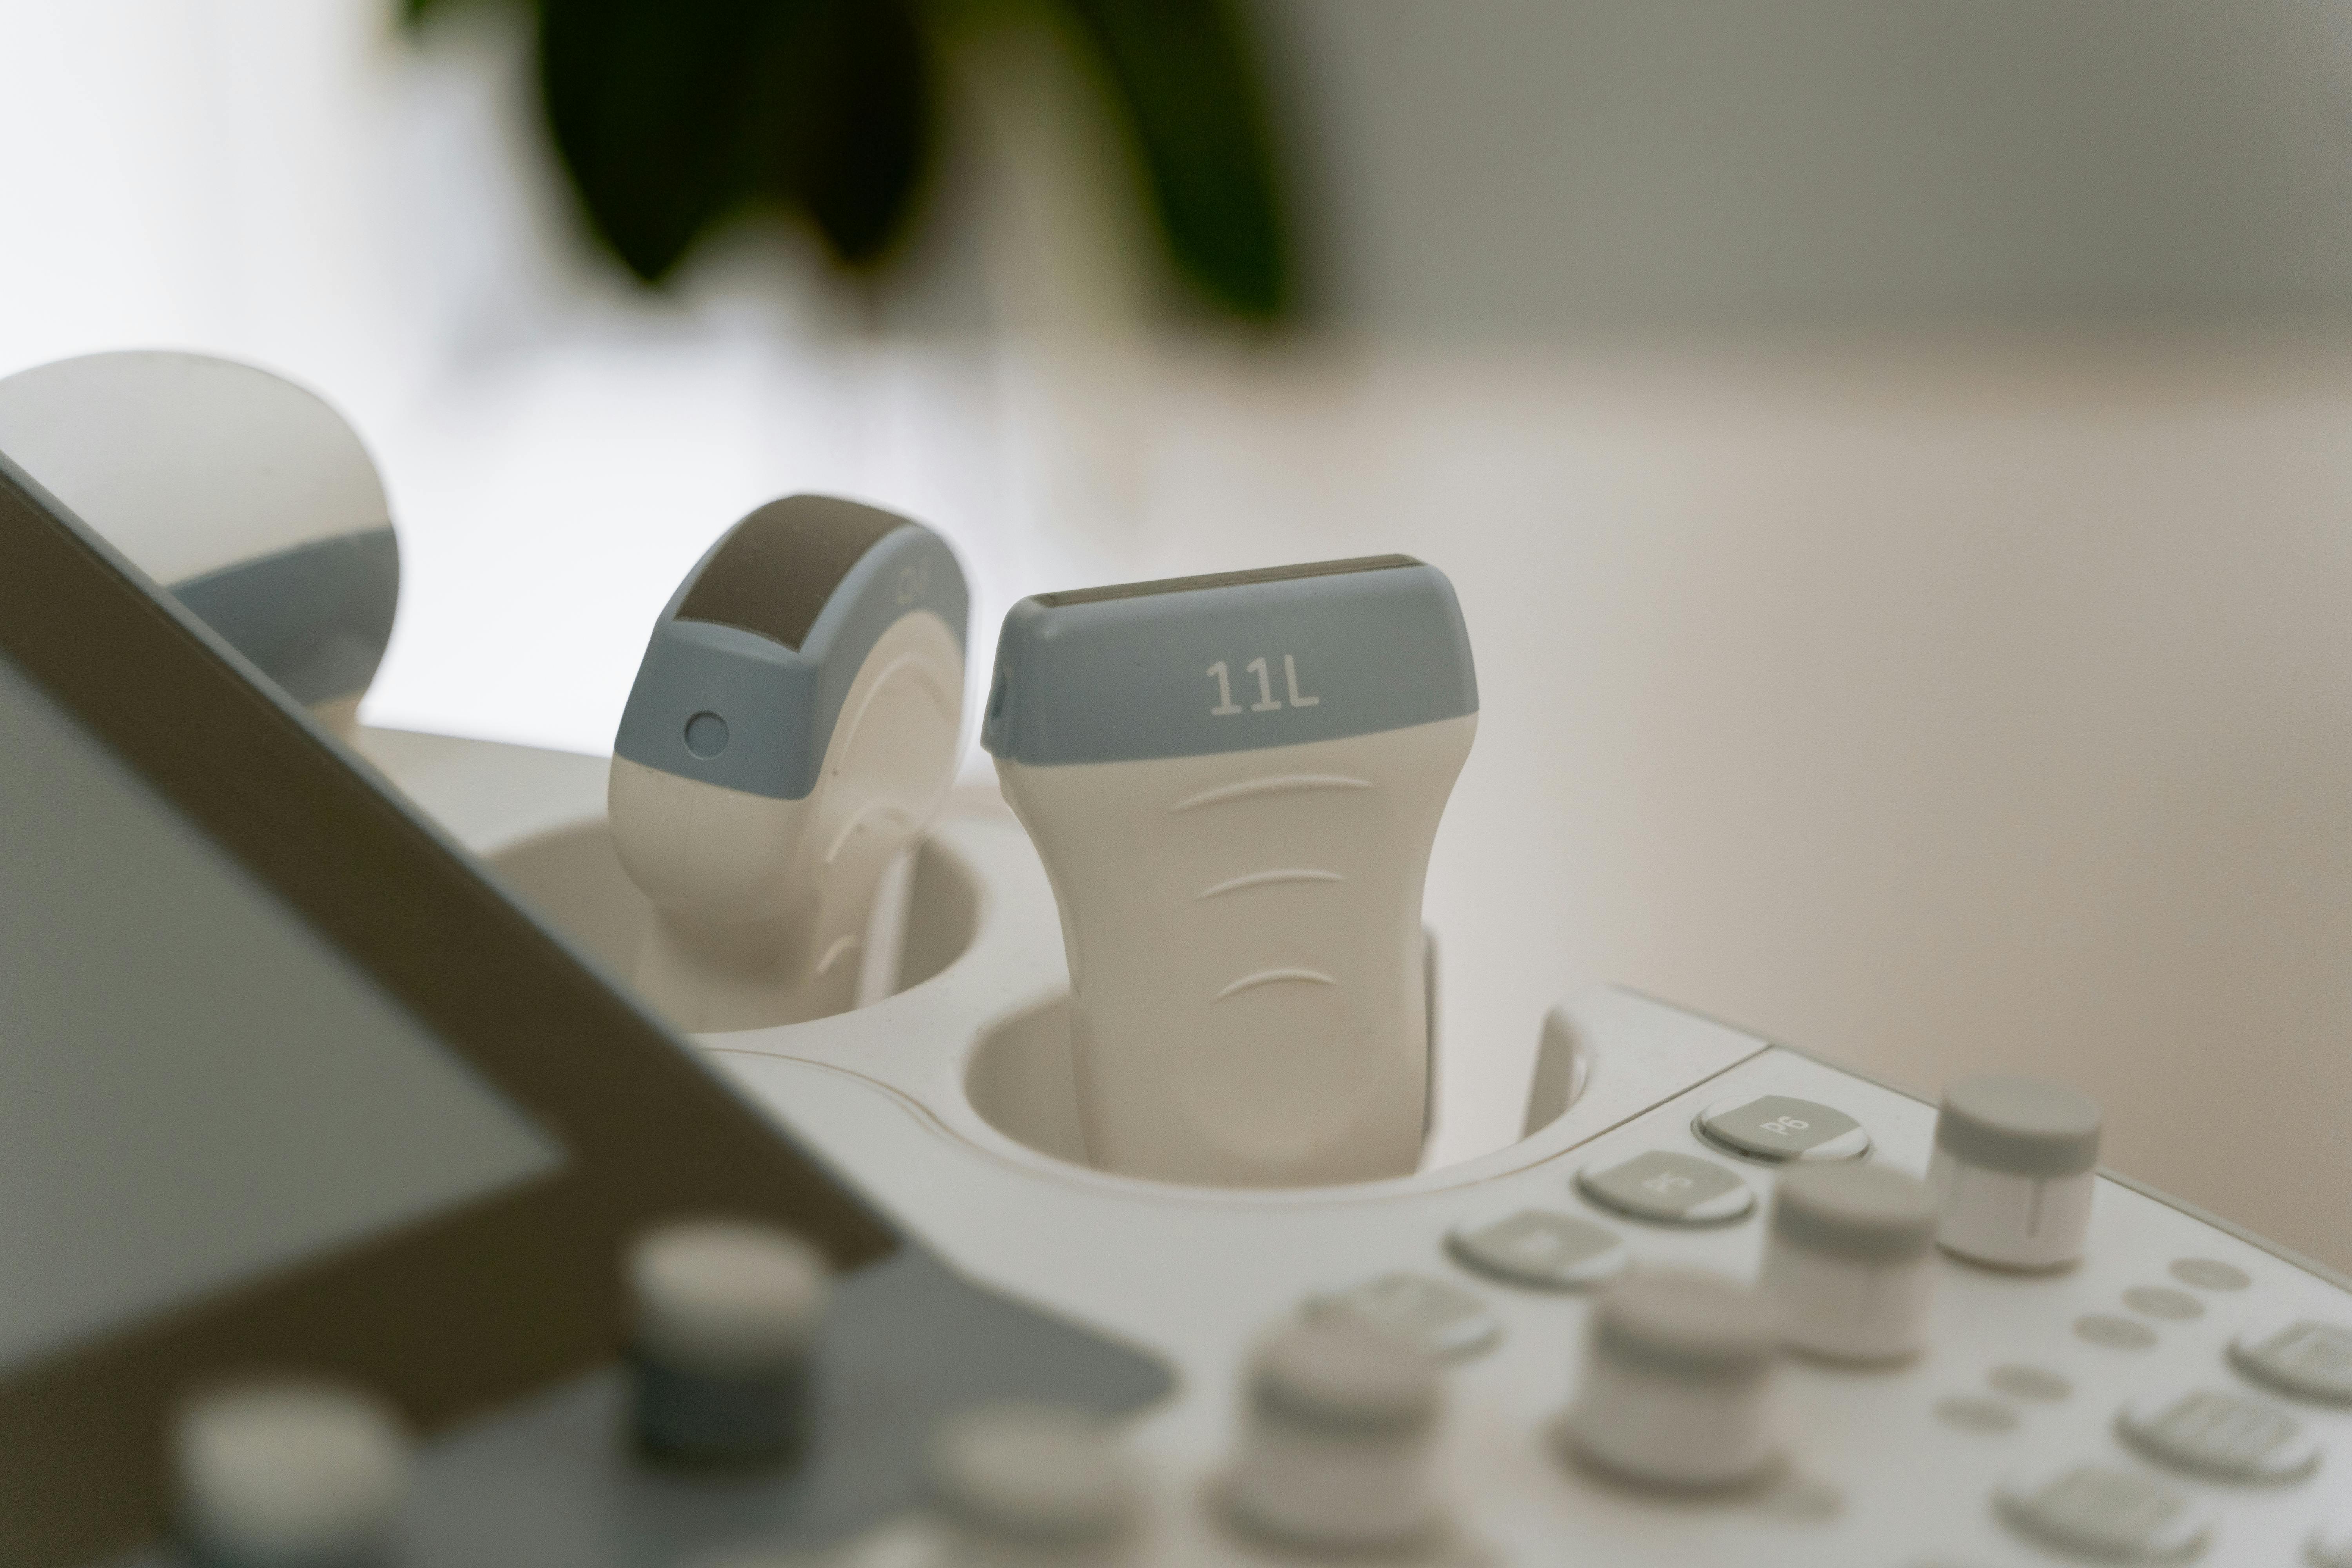
Transducer and Probe Repair Techniques
Probes represent the most failure-prone component, often due to cable fractures, lens delamination, or piezoelectric element degradation. Begin by isolating the probe through system disconnection and cable continuity testing using a time-domain reflectometer (TDR).
For cable repairs, strip damaged sections carefully, solder replacements with 30-32 AWG shielded wire, and apply heat-shrink tubing for insulation. Ensure impedance matching to prevent signal attenuation.
Addressing Acoustic Lens and Element Failures
Lens cracks require epoxy reapplication after cleaning with isopropyl alcohol. Test post-repair with a needle hydrophone to verify focal zone integrity.
Dead elements in linear or phased-array probes necessitate partial array replacement or beamforming software compensation. Advanced techniques involve micro-soldering individual elements under magnification.
- Calibrate beam steering post-repair using angular resolution phantoms.
- Avoid exceeding 40°C during soldering to prevent piezo damage.
- Verify sensitivity drop is less than 3 dB after intervention.
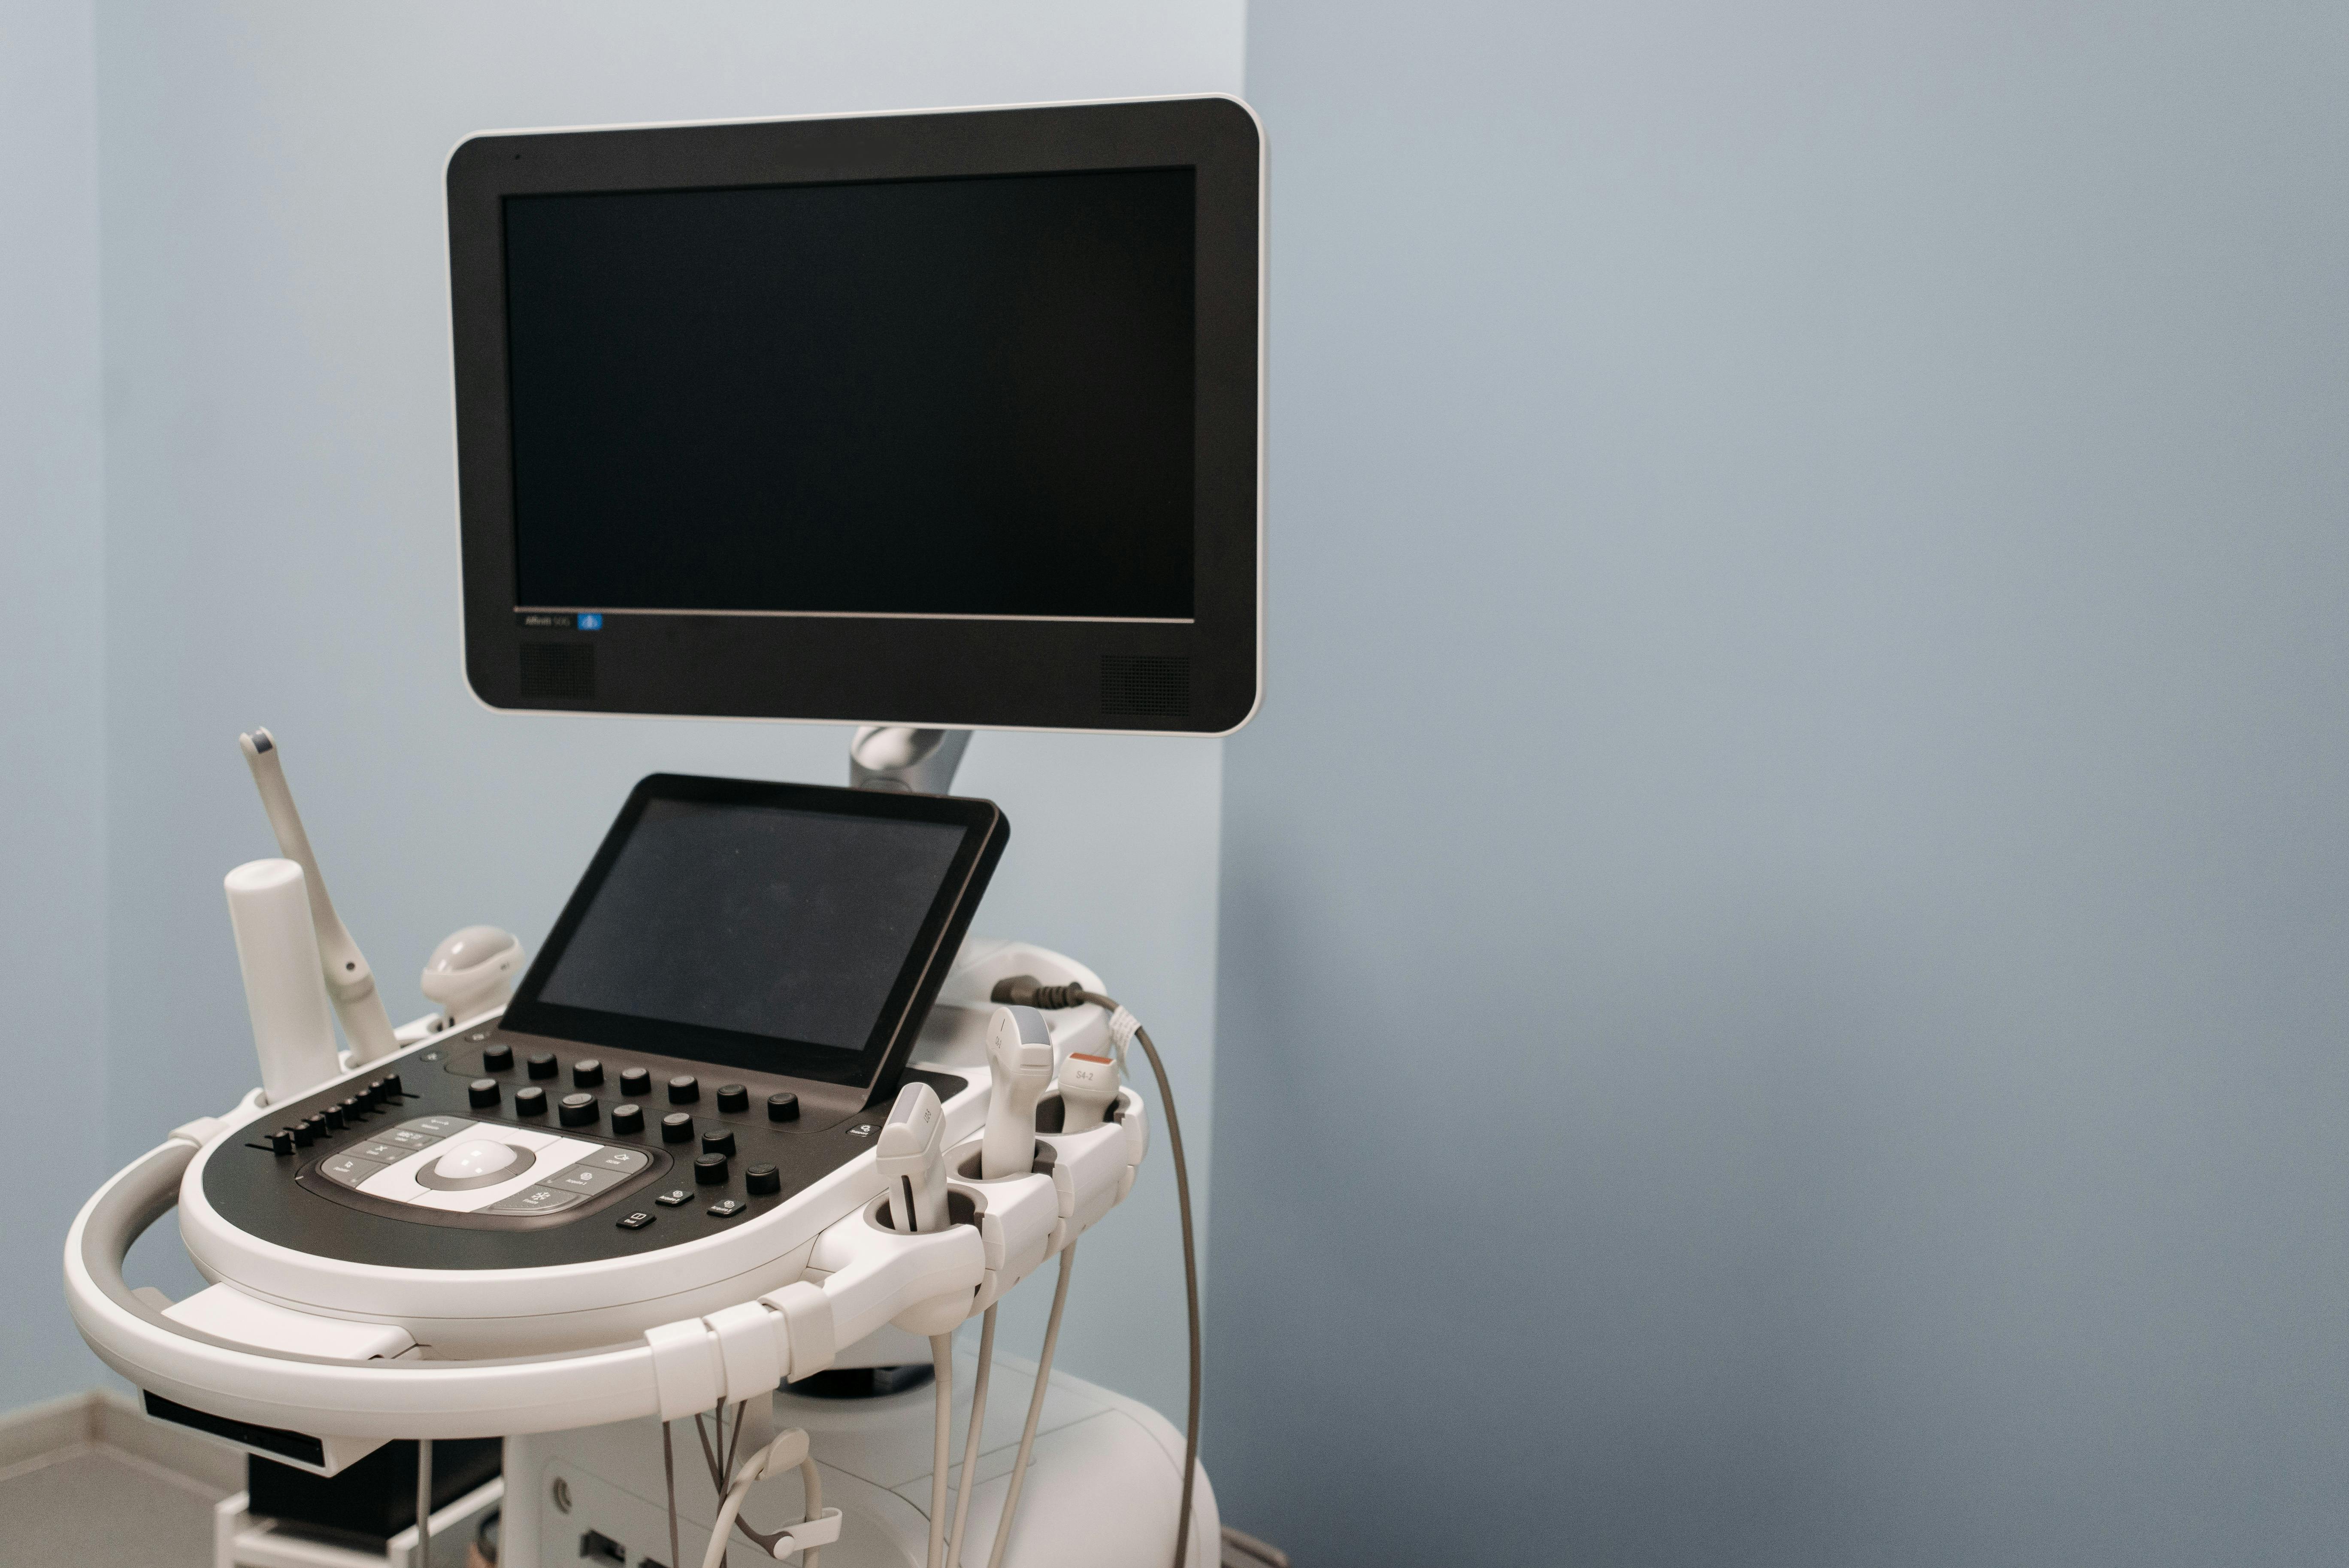
Power Supply and Electronics Troubleshooting
Power supply units (PSUs) frequently fail from capacitor aging or rectifier diode breakdowns, manifesting as intermittent boot-ups or display flickering. Disassemble the PSU chassis and use an ESR meter to identify swollen electrolytic capacitors.
Replace with high-temperature, low-ESR equivalents rated for medical-grade operation (e.g., 105°C). Recheck ripple voltage (<50 mV) on all outputs using a differential probe.
Printed circuit board (PCB) issues, such as cracked solder joints from vibration, demand reflow soldering with flux and hot air stations. Inspect high-voltage sections for arcing residue indicative of transmit pulse failures.
- Power down and discharge high-voltage capacitors before handling.
- Test RF amplifiers for gain flatness across 1-15 MHz bandwidth.
- Update firmware if digital signal processor (DSP) glitches persist.
Software, Calibration, and Preventive Maintenance
Software glitches cause artifacts like ghosting; resolve by booting into recovery mode and reflashing OEM firmware via USB or network. Verify checksum integrity post-update.
Recalibration post-repair involves velocity-of-sound adjustments using tissue-mimicking phantoms and gray-scale linearity checks. Use automated software routines compliant with IEC 61391 standards.
Implement preventive maintenance schedules to extend equipment life:
- Monthly: Clean probes with approved gels and inspect cables.
- Quarterly: Perform full system diagnostics and archive logs.
- Annually: Replace thermal compounds and verify electrical safety (leakage <100 µA).
Log all interventions in a digital maintenance record for traceability and regulatory compliance.
Conclusion
Mastering these repair techniques minimizes downtime and upholds the reliability of medical ultrasound systems. Technicians must prioritize safety protocols, including ESD protection and biomedical compliance testing. Continuous training ensures proficiency amid evolving device architectures.
Related Articles
Why Console Navigation That Gets Worse With Use Often Exposes Panel-Control Weakness Earlier Than A Hard Failure
If navigation gets less crisp as the session goes on, the panel-control path may already be weakening while the machine is still broadly usable.
Mengapa Kluster Keyboard yang Mengalami Drifting Biasanya Merujuk pada Jalur Input Bersama, Bukan Lima Tombol yang Rusak
Ketika kluster keyboard yang sama menjadi tidak stabil secara bersamaan, tersangka yang lebih tepat biasanya adalah jalur konsol bersama, bukan beberapa kerusakan tombol yang tidak saling terkait.
